

Primer for Plastic Scale Models: What Actually Matters (And What Doesn't)
What Primer for Plastic Scale Models Actually Does
Using primer for plastic scale models serves two purposes, and both matter equally.
Adhesion. Primer creates a mechanical and chemical bond between the plastic surface and your paint that bare plastic alone cannot provide. Without it, paint is significantly more likely to chip, peel, or react poorly with the base material over time — especially near edges and handling areas. This is not marketing. It is chemistry.
Revelation. Primer's consistent color and matte finish reveals surface defects that are invisible on bare or pre-colored plastic — scratches, seam lines, sink marks, and mold texture. Think of priming as your mandatory quality-control stage. Every defect the primer reveals is a defect you can still fix. Every defect the primer covers is a defect paint will amplify.
Lacquer, Acrylic, or Rattle Can: Which Type to Use
The three main primer delivery methods each have genuine strengths:
Lacquer primer (Mr. Surfacer, Tamiya Fine Surface Primer L): flows very thin, self-levels beautifully, and creates the smoothest possible base for subsequent paint. The downside is solvent fumes — lacquer primer requires good ventilation and ideally a spray booth or open-air spraying. For builders who use an airbrush regularly, lacquer primer is worth the setup.
Acrylic primer (Vallejo Surface Primer, AK Interactive Primer): water cleanup, minimal fumes, compatible with all paint types underneath. Slightly less self-leveling than lacquer in some conditions, but the difference is modest for most builds. A good choice for builders without dedicated ventilation.
Rattle can primer (Tamiya Fine Surface Primer in a can, Army Painter): the most convenient option. Apply in multiple light passes from 25–30cm. Sensitive to temperature and humidity — don't use below 15°C or in damp conditions. The most practical primer for plastic scale models when starting out.
All three work when used correctly. The "best" primer for plastic scale models is the one you'll actually use consistently.
Grey, Black, or White Primer: The Color Choice Explained
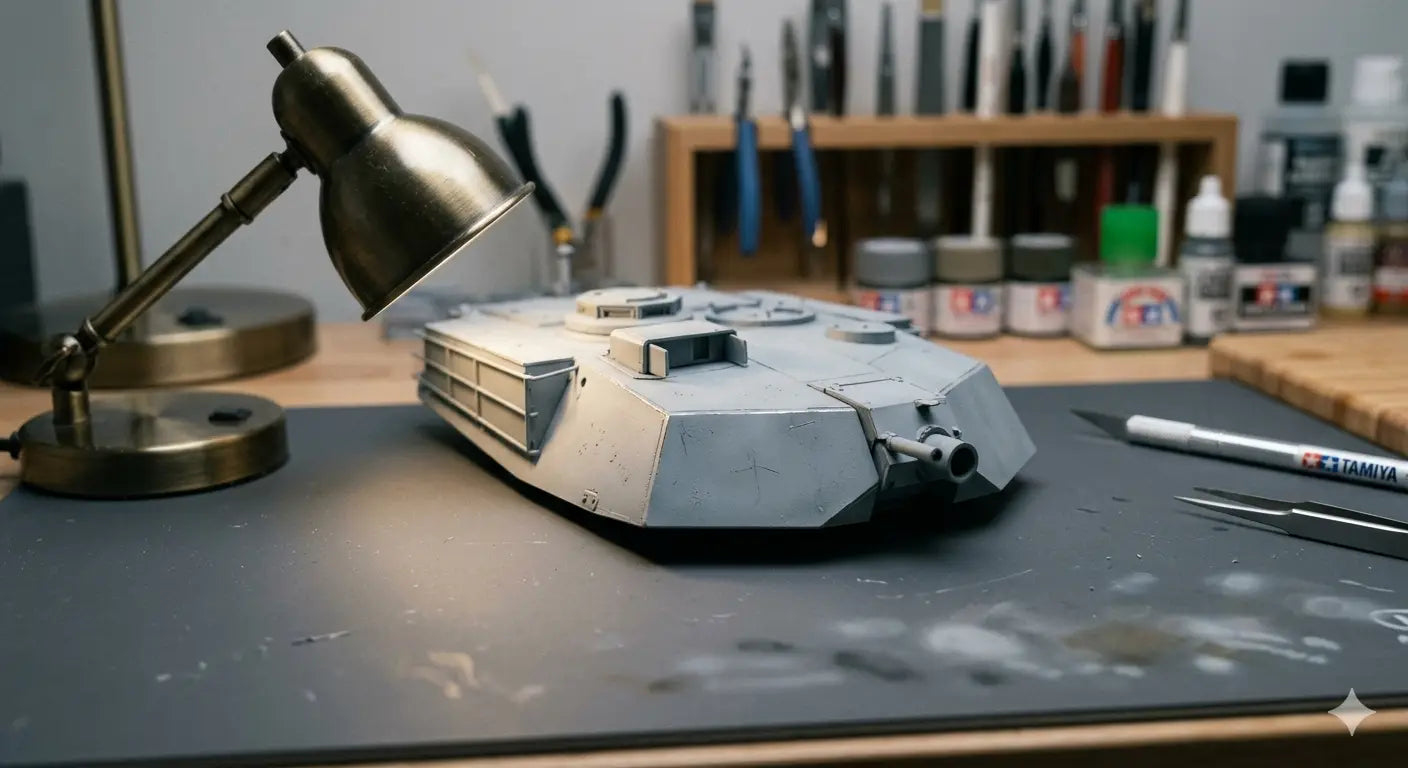
Grey is the universal starting point. Grey primer provides accurate color rendering for any subsequent paint scheme, shows defects clearly without being extreme, and works under both light and dark final colors. If you're unsure what to buy, buy grey.
Black primer is used for dark color schemes, pre-shading techniques, and zenithal priming (where white is misted on top from above to create a built-in lighting effect). It's also excellent as a base for metallic and dark color finishes.
White primer makes bright colors more vibrant — particularly reds, yellows, and oranges — but reduces the visual impact of subsequent wash and shading stages. It's the right choice for brightly-colored Gunpla custom paint schemes and some Warhammer armies.
For a first build: grey, always.
The Most Common Mistake: Using Primer as a Gap Filler
Primer does not fill gaps, seams, or significant surface defects. It reveals them. Thicker formulations like Mr. Surfacer 500 fill minor scratches, but they are not gap fillers. For seams and visible defects, the correct sequence is: putty or CA glue + accelerator, sand flush, inspect, then prime. Trying to prime over an unfilled seam and hoping it won't show is how you learn this lesson on a model you cared about.
How to Apply Primer for Plastic Scale Models Correctly
Multiple thin coats always outperform one thick coat. A single thick coat fills panel line detail, takes far longer to cure, and is prone to runs and uneven coverage. Two or three thin coats build consistent coverage without obscuring engraved lines.
Practical application guide:
- Wash the model with mild soap and warm water to remove oils and mold release agents — then don't touch the plastic with bare hands
- Allow to dry fully — any moisture under primer causes adhesion problems
- Apply in thin, light passes — for rattle cans, hold 25–30cm away and keep moving
- Build coverage with 2–3 coats rather than trying to cover in one pass
- Allow 24 hours to cure before sanding or painting — some acrylics cure faster, but 24 hours is the safe minimum
Inspecting After Primer: The Most Important Step
After primer has fully cured, hold your model under raking light — a light source at a very low angle to the surface. This reveals every scratch, missed seam, and surface imperfection that overhead lighting hides completely.
Everything you see needs to be fixed before painting. This is the purpose of primer for plastic scale models: it forces you to confront surface quality before paint locks in the result. Sand any rough areas back through the grit progression (see how to sand scale models), re-prime the repaired areas, and inspect again before proceeding.
Primer for Resin Parts
Resin requires additional preparation before primer. Resin parts come coated with mold release agent — a substance that prevents primer from adhering. Wash resin parts with isopropyl alcohol (IPA, 90%+) and a soft brush for 2–3 minutes, rinse with water, and let dry completely before any primer contact. Skip this step and your primer will peel regardless of quality.
After washing: standard grey primer over clean resin provides adequate adhesion for most builds. For parts that will be handled frequently or are in a high-stress area, lacquer primer gives maximum grip.
Practical Tips for Better Priming Results
- Never prime in cold (below 15°C) or humid conditions — adhesion suffers and surfaces stay tacky
- If your primer looks rough or grainy after drying, you applied it too far away or too thickly in a single pass
- Shake rattle cans for at least 60 seconds before use — the propellant and primer separate during storage
- If you're using an airbrush for primer, 10–15 PSI at 15–20cm distance gives consistent coverage
For a full overview of building your first model from start to finish, see our scale modeling beginner's guide. And once you understand primer, the next critical stage is sanding — covered in detail in how to sand scale models.


