

Scale Model Building Tools: The Complete Guide
Every tool worth owning — organized by type, level and actual use case.
Most beginners buy the wrong scale model building tools first — either too basic to last, or too advanced to use yet. This guide cuts through that. Whether you're just starting your first Gunpla kit or upgrading a workbench that's been running on superglue and wishful thinking, here's exactly what you need, in the right order.
The Four Categories of Scale Model Building Tools
Scale model building tools fall into four functional categories. Understanding them before you buy saves money and avoids having a drawer full of things you'll never use.
Cutting Tools
Nippers, hobby knives and scribing tools. Used to remove parts from sprues, trim gates and engrave panel lines.
Sanding & Filing Tools
Sanding sticks, sandpaper sets, glass files and electric sanders. Used to clean gate marks and shape surfaces.
Finishing Tools
Panel liner brushes, panel liners, panel liner pens and weathering tools. Used after construction to add depth and realism.
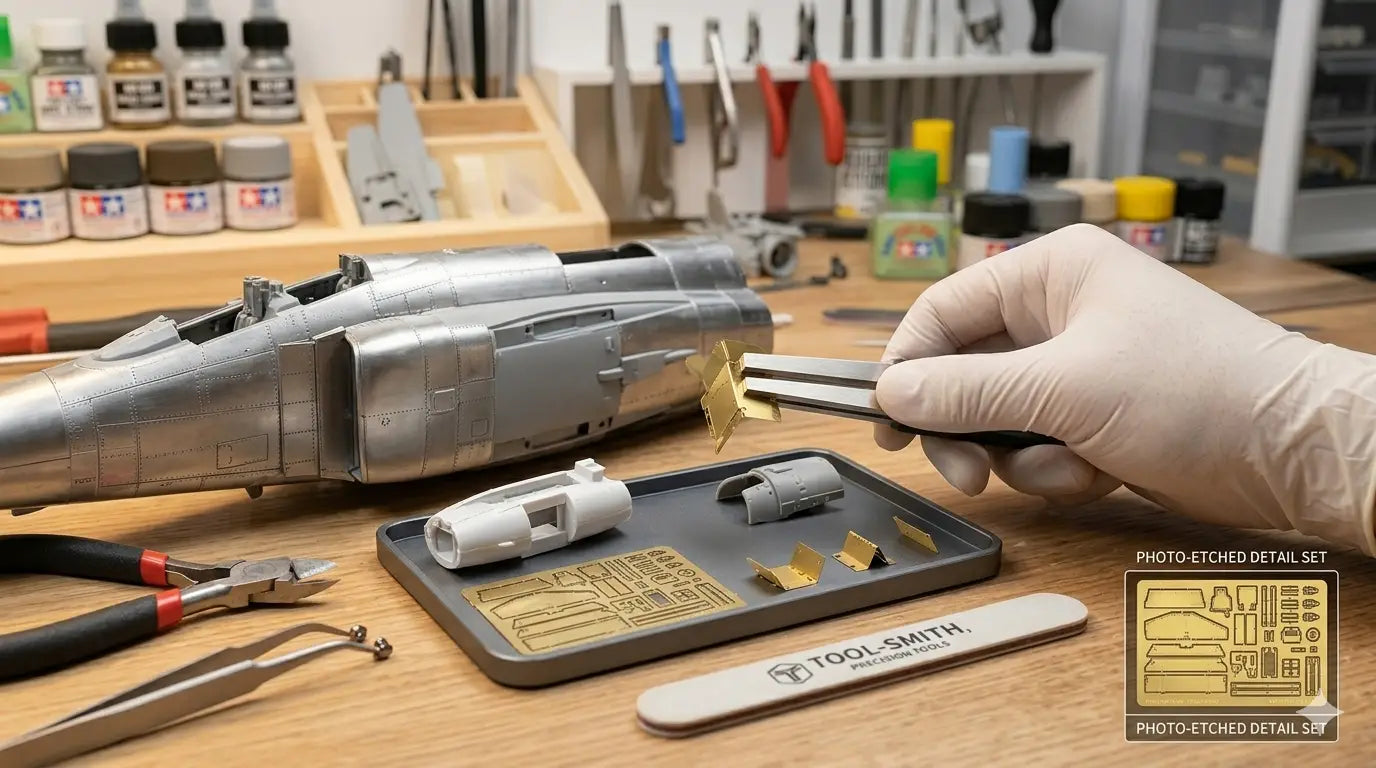
Precision & Detail Tools
Drills, grinding pens, tweezers and bending tools. Used for advanced detailing, drilling pin holes and working with photo-etch parts.
You don't need all four categories at once. Start with cutting and sanding — they're used on every single build. Add finishing tools when you're ready to panel line. Add precision tools when you start detailing seriously.
Cutting Tools: Nippers and Knives
The most important scale model building tool you'll ever buy is a pair of nippers. They're used on every part, every build, every session. Getting this wrong — buying a cheap double-blade nipper when you need a single-blade — is the most common beginner mistake.
Double-Blade vs Single-Blade Nippers
Double-blade nippers are your workhorse. They cut from both sides, which makes them fast and durable for removing parts from the sprue. Single-blade nippers cut from one side only, which drastically reduces the stress on the plastic and leaves a much cleaner gate mark — close enough that very little sanding is needed. For Gunpla and fine-detail scale models, a single-blade nipper is not optional if you care about finish quality.
For hobby knives, a standard angled blade handles gate cleanup, scribing touch-ups and detail trimming. Replace blades often — a dull blade tears plastic instead of cutting it cleanly.
Sanding Tools: The Step That Defines Your Finish
No amount of good painting covers up sanding you skipped. Sanding is where scale model building tools earn their cost back on every build. The goal is removing gate marks completely and preparing the surface for primer and paint.
Sanding Sticks vs Loose Sandpaper
Sanding sticks (sandpaper bonded to a rigid or semi-rigid backing) give you more control than loose sandpaper sheets. They hold their shape, let you target small areas and don't wrap around curves the way sheet paper does. For most scale modeling work, a set covering #400 to #1200 grit covers everything: coarse removal at lower grits, smooth preparation for primer at higher grits.
For large flat surfaces and rapid stock removal, a DSPIAE electric reciprocating sander changes your workflow permanently. What takes 10 minutes of hand sanding takes 90 seconds with an electric sander. It's not a beginner purchase, but once you've built 5 or 6 kits by hand, you'll understand exactly what it solves.
| Grit Range | Use | When to Use It | Level |
|---|---|---|---|
| #120 – #240 | Heavy stock removal | Filling, shaping, removing large nubs | Starter |
| #320 – #600 | Gate mark cleanup | After nippers, before priming | Starter |
| #800 – #1200 | Surface prep for primer | Final pass before painting | Mid |
| #1500 – #3000 | Between-coat sanding | Smoothing primer or base coat | Mid |
| #5000 – #15000 | Polishing clear coat | Final finish on gloss builds | Pro |
Glass files sit between sanding sticks and sandpaper sheets in terms of rigidity and grit consistency. They're especially useful for curved surfaces and removing mold lines cleanly without flexing.
Finishing Tools: Panel Liners, Brushes and Weathering
Finishing tools are what separate a model that looks assembled from one that looks built. Panel lining — applying dark ink or wash into the recessed lines of a model — adds depth and makes details pop in a way that paint alone cannot.
Panel Liner Pens vs Liquid Panel Liners
Panel liner pens (oil-based markers) are the fastest way to start panel lining. They require no mixing and clean up with an eraser or lighter fluid. Liquid panel liners — like the Stedi Acrylic Panel Liner — are water-based, which means they clean up with a damp cotton swab and are safer to use indoors. They also flow into recesses more naturally than pen-based liners on complex panel lines.
For applying liquid panel liners, a fine-tipped brush matters more than most builders expect. A brush with a sharp point lets you control exactly where the liner flows and wipe cleanly without leaving streaks at the edges.
Panel lining on top of gloss varnish gives you far more control than lining on bare plastic or matte surfaces. The liner flows deeper into recesses and wipes off cleanly without staining the surrounding surface.
Precision and Detail Tools: When to Add Them
Precision scale model building tools are not starter purchases. They become relevant once you're doing specific techniques: drilling pin holes for magnets, working with photo-etch parts, or grinding down mold seams that sanding alone can't reach.
Drills and Drill Bits
Hand drills and micro drill bits are used for pinning parts together, adding antennas, and drilling out gun barrels for realism. A set ranging from 0.3mm to 1.2mm covers nearly every use case in Gunpla and 1/35 scale armor modeling. Electric hand drills like the DSPIAE Orbit Electric Drill are faster and more consistent than hand pin vises, especially for drilling through harder plastic or resin.
Electric Grinding Pens
A grinding pen is a rotary tool in pen form. It's used for removing material precisely in areas too tight for sanding sticks — seam lines on curved surfaces, detail cleanup inside recesses, and shaping custom parts. It's one of those tools that sounds niche until you need it, at which point nothing else works as well.
What to Buy First: Scale Modeling Tools by Priority
If you're building your first toolkit for scale model building, buy in this order. Every level builds on the one before it.
Nippers (double + single blade)
The single most important purchase. Use the double-blade for fast removal, single-blade for clean second cuts. Buy both before anything else.
Sanding sticks or sandpaper (#400 – #1200)
Used on every single gate mark. Without these, your builds will always show sprue damage. A mixed grit set is all you need to start.
Panel liner + panel liner brush
Once you're happy with your assembly and sanding workflow, add panel lining. It transforms the visual quality of a finished build immediately.
Electric sander (when you're building regularly)
After 5–6 builds, hand sanding becomes the bottleneck. An electric reciprocating sander removes it entirely and dramatically speeds up your workflow.
Precision tools (drill, grinding pen)
Add these when specific techniques demand them. Don't buy them speculatively — you'll know when you need them.
FAQ: Scale Model Building Tools
What tools do I need to start scale modeling?
To start, you need a pair of nippers (double-blade for sprue removal), sanding sticks covering #400–#1200 grit, a hobby knife and a panel liner with a fine brush. That covers 90% of the work on your first builds.
What's the difference between a double-blade and single-blade nipper?
Double-blade nippers cut from both sides and are fast and durable. Single-blade nippers cut from one side only, which reduces stress on the plastic and leaves a much cleaner gate mark with minimal sanding needed. For Gunpla and fine-finish scale modeling, a single-blade nipper is worth the extra cost.
Do I need an electric sander for scale modeling?
No — but it dramatically speeds up the workflow once you're building regularly. Hand sanding with sticks works fine for beginners and occasional builders. An electric reciprocating sander becomes worthwhile when sanding is clearly the slowest step in your process.
What grit sandpaper should I use for plastic scale models?
#400–#600 for gate mark cleanup and surface prep; #800–#1200 before priming; #1500–#3000 for between-coat sanding; #5000+ for final polishing on gloss finishes. For most builds, #400 to #1200 is all you need.
Tools Featured in This Guide
All available at Hobbyist Haven with fast shipping.


