

Photo Etched Parts Bender: What It Is and How to Use It
PE parts add detail no plastic can replicate — but only if you fold them cleanly.
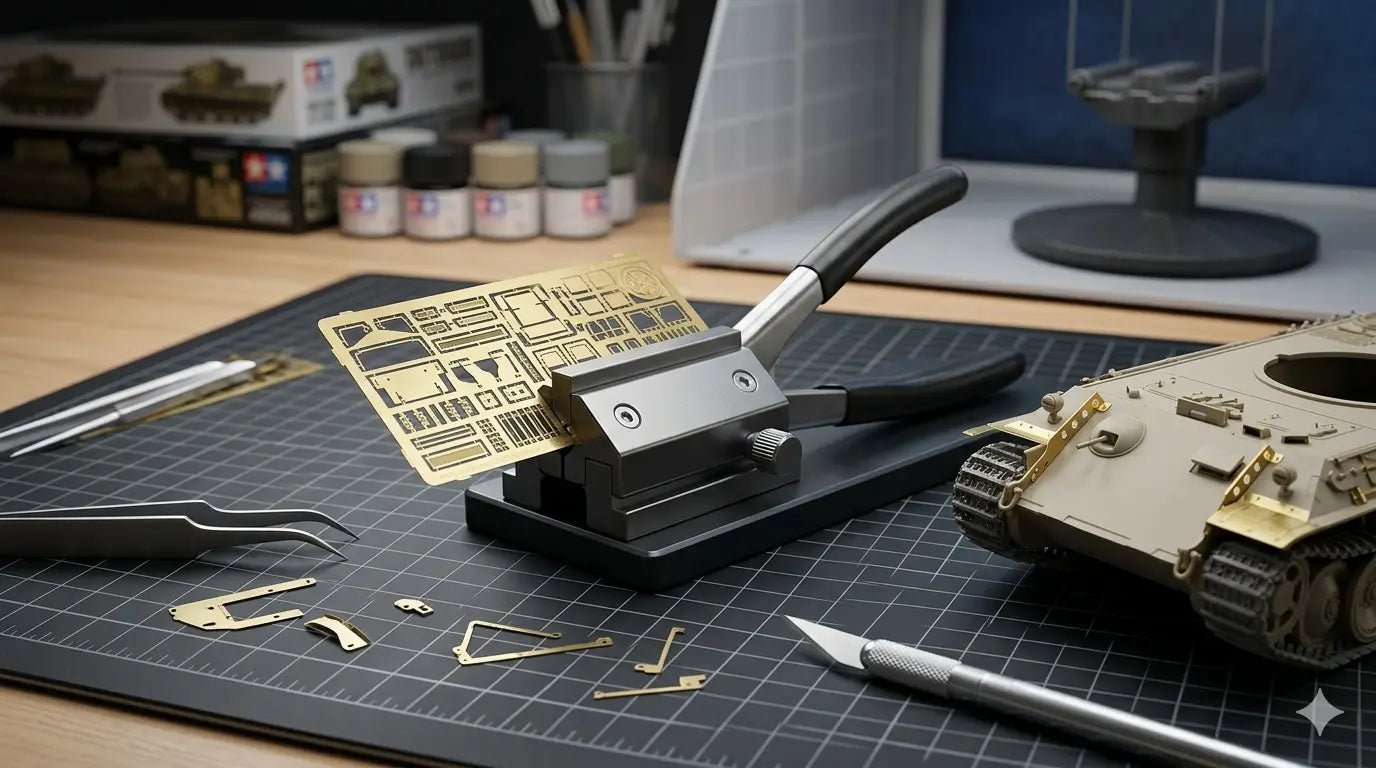
Photo etched parts are thin sheets of brass or stainless steel, chemically etched to form railings, grilles, screens, buckles and structural details that simply cannot be replicated in plastic at scale. A photo etched parts bender is the tool that lets you fold these parts accurately — without cracking them, misaligning the bend, or crushing the fine surface detail. If you're working with PE parts and using your fingers or a knife handle to bend them, this guide explains what you're missing and why it matters.
What Is a Photo Etched Parts Bender?
A photo etched parts bender (also called a PE bending tool or photo-etch folder) is a precision tool designed to fold thin metal sheet parts at exact angles. It works by clamping the PE part at the exact fold line and applying pressure evenly across the full length of the bend. The result is a straight, consistent crease with no distortion of the surrounding material.
The key word is precision. PE parts are typically 0.05mm to 0.3mm thick — thin enough that any uneven pressure bends unevenly or buckles the metal. Your fingers introduce uneven force across a bend. A knife handle introduces point pressure, not line pressure. A dedicated PE bender applies force in a straight line along the exact crease point, every time.
PE parts are expensive and non-replaceable. A misfolded railing or ladder that buckles at the bend cannot be unfolded and reused — the metal work-hardens at the crease. Getting the bend right the first time is not optional.
Square Bender vs Long Bender: Which Do You Need?
Photo etched bending tools come in two main formats. Understanding which one suits your work saves you buying the wrong type.
- Handles parts up to ~80–100mm wide
- Compact, fits in confined areas
- Good for brackets, small panels, hinges
- Works well for 1/35 and 1/72 scale armor
- Some models handle multiple angles (45°, 90°)
- Handles parts 150mm+ in length
- Essential for ship railings and long ladders
- Better for 1/350 and 1/700 ship models
- More consistent along the full bend length
- Larger footprint, less versatile for small parts
For most scale modelers working with armor, aircraft, and Gunpla PE details, a square universal bender handles the majority of PE work. Ship modelers doing hull railings at 1/350 or smaller will need the long bender for those specific parts — but may still want a square bender for brackets and smaller details in the same kit.
How to Use a Photo Etched Parts Bender
The technique for using a PE bender is consistent across all types of bending tools. The variation is in how you position the part before bending.
Cut the part cleanly from the PE fret
Use fine scissors or a sharp hobby knife and a cutting mat. PE parts cut cleanly with a single downward press — don't saw or drag the blade.
Identify the fold line
Most PE parts have a scored line on the surface where the fold is intended. This is the line you align with the edge of the bender's clamping jaw.
Position the part in the bender jaw
Place the PE part so the fold line sits exactly at the edge of the clamping jaw. Tighten the clamp or hold it firmly — any movement during the bend will throw off the angle.
Fold with steady, even pressure
Use a burnisher, the side of a hobby knife, or the bender's own folding arm to push the free side of the PE part up or down to the required angle. Apply pressure evenly across the full width — not just at the centre or ends.
Check the angle before releasing
PE metal springs back slightly when released. Fold 2–3° past your target angle to compensate. A 90° fold needs about 93° of applied pressure to end up at 90° after spring-back.
Common Mistakes When Bending Photo Etch Parts
When Do You Actually Need a Photo Etched Parts Bender?
Not every PE part requires a dedicated bender. Simple right-angle folds on thick brass PE (0.2mm+) can sometimes be done with two pairs of flat pliers. But there are specific situations where a PE bender is not a luxury.
| Situation | Without Bender | With Bender |
|---|---|---|
| Thin brass parts (<0.1mm) | Buckling, uneven crease | Clean, consistent fold |
| Long railings (>80mm) | Bend wanders off-line | Straight crease full length |
| Multiple identical bends | Each bend slightly different | Consistent angle every time |
| Acute angles (<45°) | High crack risk | Controlled pressure reduces cracking |
| Pre-painted PE parts | Paint cracks at fold | Tighter bend control = less paint damage |
If you work with PE sets on any kit of 1/35 scale or smaller, or if you're building ship models at 1/350 or 1/700, a PE bender will pay for itself on the first kit where it saves you from a ruined part.
FAQ: Photo Etched Parts Bender
Can I fold photo-etch parts without a bender?
Yes, for simple thick-metal PE parts. Two pairs of flat-nose pliers can manage basic right-angle bends. For thin brass, long parts, or multiple repeated bends, a dedicated bender is the only way to get consistent results without buckling the metal.
What's the difference between the DSPIAE square bender and long bender?
The square bender handles smaller parts (up to ~80mm) and is suited to armor, aircraft and Gunpla PE details. The long bender handles wider parts for ship railings and long structural PE elements. Many builders own both for different kit types.
What scale modeling kits use photo-etch parts?
PE sets are available for virtually all kit types: 1/35 armor (grilles, screens, side skirts), 1/48 and 1/72 aircraft (seat harnesses, cockpit details), 1/350 and 1/700 ships (railings, ladders, masts), and dioramas (chain link, mesh, structural details). PE is also used in Gunpla HG and MG builds for additional surface detail.
Does metal spring-back affect every PE part?
Yes. Brass and stainless steel always spring back slightly after bending. The amount of spring-back depends on metal thickness and temper. As a rule, fold 2–5° past your target angle. Annealing the metal before bending reduces spring-back significantly.
Tools for Working with Photo Etch
Everything you need for clean, precise PE work.


