

A clean airbrush sprays better, lasts longer and wastes less bench time. The trick is not stripping it to pieces after every color — it is knowing which level of cleaning the situation actually needs.
The best airbrush cleaning routine is not the most aggressive one. It is the least invasive routine that completely removes the paint you need to remove. A quick color change may need two minutes and no disassembly. A stubborn internal clog is a different job entirely.
3 Levels of Cleaning: Choose What You Need
Most cleaning damage happens because modelers treat every situation like a deep-clean emergency. Use the lightest level that solves the problem, then escalate only if the spray tells you the airbrush is still dirty.
Between Colors — Quick Flush
Remove the previous color without disturbing parts that are already clean.
Empty and wipe the cupFlush the paint pathCheck the needle tip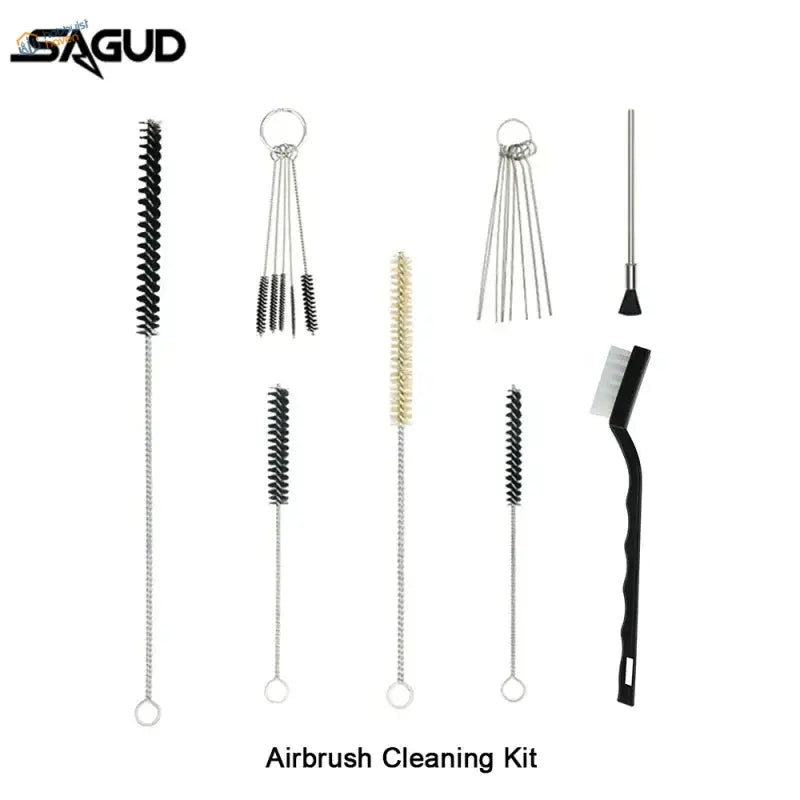
After a Session — Standard Clean
Remove paint before it cures in the needle, cup and accessible paint passages.
Thorough flushClean the needleInspect nozzle area
Deep Cleaning — Maintenance
For visible buildup, persistent clogs or a spray problem that survives routine cleaning.
Controlled disassemblyRemove dried depositsInspect needle and nozzleWhy Cleaning Your Airbrush Matters
Paint does not have to block the nozzle completely to affect the result. A thin ring of dried acrylic around the needle tip can disturb airflow. A partial deposit inside the nozzle can reduce the effective opening. Old pigment or debris can turn a smooth spray into random specks even though paint still comes out.
That is why a dirty airbrush often feels like a pressure or thinning problem. You compensate by adding thinner, increasing PSI or opening the trigger farther — and sometimes make the finish worse because the real restriction is still inside the paint path.
Dirty Airbrush
Large deposits or dried paint can cause weak flow, irregular droplets and hard-to-diagnose stoppages.
Partially Clogged
The dangerous middle ground: it still sprays, but atomization and repeatability become unpredictable.
Clean Paint Path
Stable airflow plus an unobstructed paint path makes every other adjustment easier to read.
If your problem is specifically spitting, pulsing or speckling, use the airbrush splatter troubleshooting guide alongside this one. Cleaning is only one possible cause.
What Cleaner Should You Use?
Use a cleaner compatible with the paint system you actually sprayed. “Acrylic” is not a guarantee that plain water will remove every formulation, and the strongest solvent on your shelf is not automatically the best cleaning choice.
| Paint situation | Safer starting approach | What not to assume |
|---|---|---|
| Fresh water-compatible hobby acrylic | Water for the first rinse, then the manufacturer-compatible cleaner if residue remains | That water alone removes dried binder |
| Alcohol/proprietary acrylic system | Use the reducer/cleaner recommended for that paint family | That all products labelled “acrylic” share chemistry |
| Enamel or lacquer | Use the appropriate compatible solvent in good ventilation | That a solvent safe for paint is automatically safe for every seal |
| Unknown dried residue | Start conservatively and check the airbrush maker's maintenance guidance | That soaking the whole airbrush is a shortcut |
Quick Flush Between Colors
A quick flush has one purpose: get the previous color out without turning a color change into a rebuild. If the next color is very light after a strong dark or metallic, be more thorough; contamination that would be invisible between two dark colors can ruin white or yellow immediately.
1. Remove the remaining paint
Pour or pipette excess paint out if practical. Spraying a full cup empty simply gives pigment more time to dry around the needle and creates unnecessary waste.
2. Wipe the cup before adding cleaner
Physical removal is efficient. A lint-free wipe, swab or suitable soft brush removes most of the paint before the cleaner has to dissolve anything.
3. Add a small amount of compatible cleaner
Loosen the film on the cup wall. If your airbrush maker permits back-flushing, a brief controlled back-flush can help move cleaner through the paint path — but it should not become a substitute for proper maintenance when a nozzle is actually clogged.
4. Spray into a contained waste pot
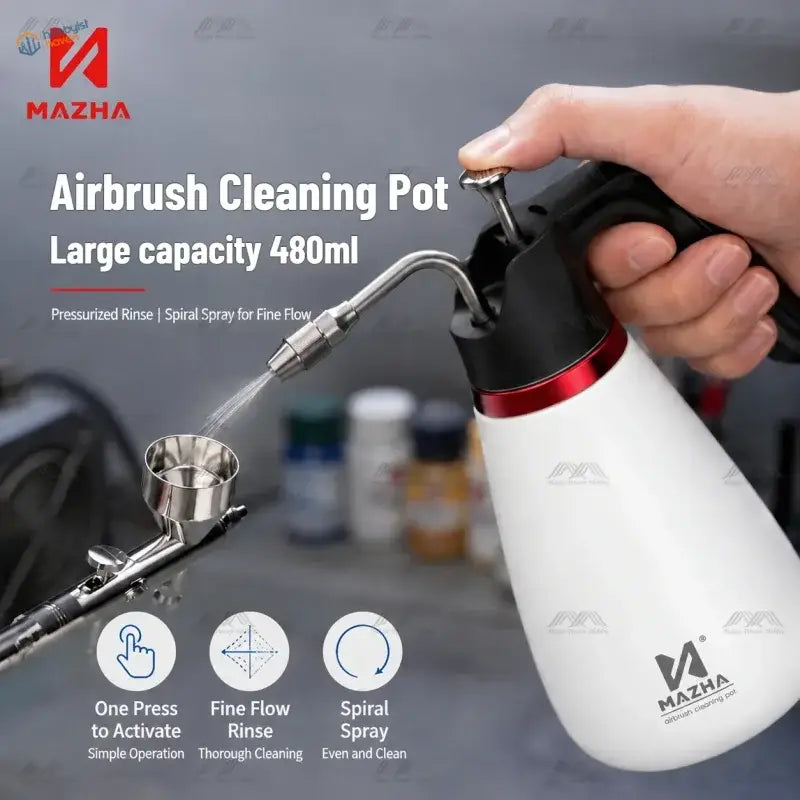
A dedicated pot keeps the bench cleaner and gives you somewhere stable to purge. The MAZHA 480ML Airbrush Cleaning Pot is the catalog option used in the Level 1 card above.
5. Inspect the needle tip before loading the next color
The cup can look perfectly clean while a dry ring remains at the exposed needle. Wipe it carefully without pushing sideways on the tip.
After a Session: The Standard Clean That Prevents Most Problems
At the end of a session, the target changes. You are no longer preventing color contamination; you are preventing paint from curing overnight in places that are harder to reach tomorrow.
Flush until fresh cleaner stays clean
One rinse is not a rule. White, primer and heavily pigmented mixes may need several small flushes. Smaller amounts repeated are usually more useful than filling the cup once and assuming the job is done.
Disconnect the air supply before handling the needle
Release pressure and use the needle-removal direction specified by the manufacturer. Wipe from the thicker rear section toward the tip so cloth fibers do not catch the point.
Clean accessible paint passages with the right size tool
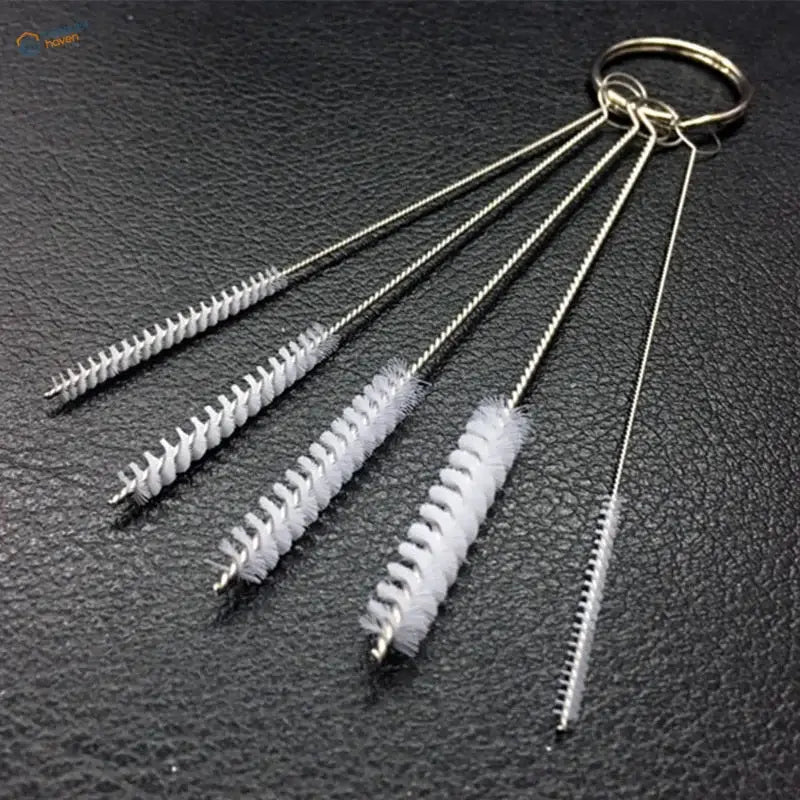
A brush that needs force is too large. The Airbrush Cleaning Brush Kit gives you several narrow brush sizes so you can match the passage instead of treating the nozzle like a drain pipe.
Reassemble gently and test before storage
Tiny threaded nozzles do not benefit from extra torque. Reassemble as the maker specifies, then make a short test spray with clean compatible fluid. A stable spray is a better end-of-session check than simply looking into the cup.
When Does an Airbrush Actually Need a Deep Clean?
Deep cleaning is justified when routine flushing stops restoring normal behavior. These symptoms are stronger evidence than an arbitrary rule such as “strip the airbrush every third session.”
A sensible deep-clean sequence
Exact part order varies by model, so the airbrush manual always wins. For a conventional gravity-feed design, the logic is:
Flush first
Remove loose paint before dismantling anything. Otherwise you spread wet pigment onto parts that were clean.
Remove the needle carefully
Clean it with compatible fluid and inspect the point under good light. A bent needle can imitate a clog by producing an asymmetric spray.
Remove only serviceable nozzle/head components
Do not dismantle valves and seals just because they exist. Deep cleaning still means targeted cleaning.
Soften deposits instead of scraping precision surfaces
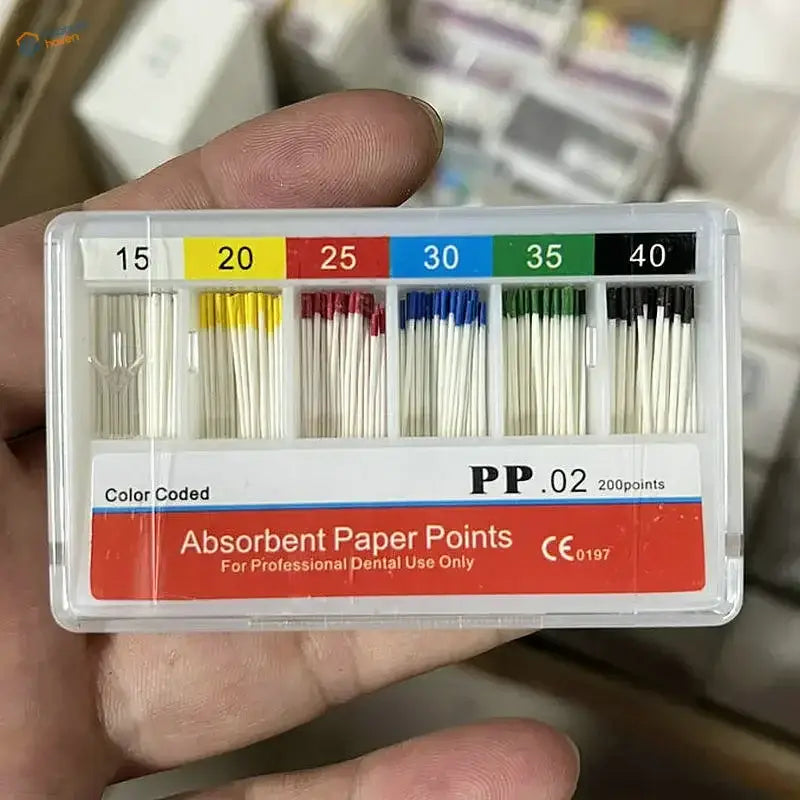
If soaking a removable paint-contact part is permitted, use compatible cleaner. Fine absorbent points can lift softened fluid and residue from narrow passages without using an oversized brush.
Inspect before reassembly
Look for a bent needle, split nozzle, damaged thread or residue that is still physically present. There is little value reassembling a known problem and compensating with more PSI.
Symptom → Likely Cause → Which Cleaning Level?
This is the section to use when you are not sure whether the airbrush is dirty enough to strip down.
| Symptom | First thing to rule out | Cleaning level to try | If it persists |
|---|---|---|---|
| Next color is contaminated | Previous paint still in cup/path | Level 1 — repeat quick flush | Clean needle/cup more thoroughly |
| One blob at the start of a line | Paint collected on needle/cap | Tip clean + Level 1 | Check trigger sequence and nozzle |
| Fine specks around spray | Tip dry / paint too thick / debris | Tip clean + strain paint | Level 2, then inspect nozzle |
| Flow weak with known-good thin paint | Partial internal restriction | Level 2 | Level 3 if unchanged |
| Bubbles in paint cup | Nozzle/head blockage or seating | Level 3 inspection | Inspect hardware/seals; do not keep increasing pressure |
| Water-like droplets from airline | Compressor moisture | Not primarily a cleaning issue | Drain tank/check moisture trap |
6 Cleaning Mistakes That Can Damage an Airbrush
How to Keep Paint From Drying Inside in the First Place
Cleaning gets much easier when it starts before the session ends. Do not leave a half-filled cup sitting while you mask another part. Wipe tip dry during long acrylic sessions. Keep the paint correctly thinned for the nozzle, and strain older mixes if you can see particles.
If viscosity is the real problem, use the paint-thinning guide rather than trying to clean your way out of a mix that cannot atomize properly.
Airbrush Cleaning Tools Worth Keeping at the Bench
You do not need every cleaning gadget. These are the products that map directly to jobs described above.
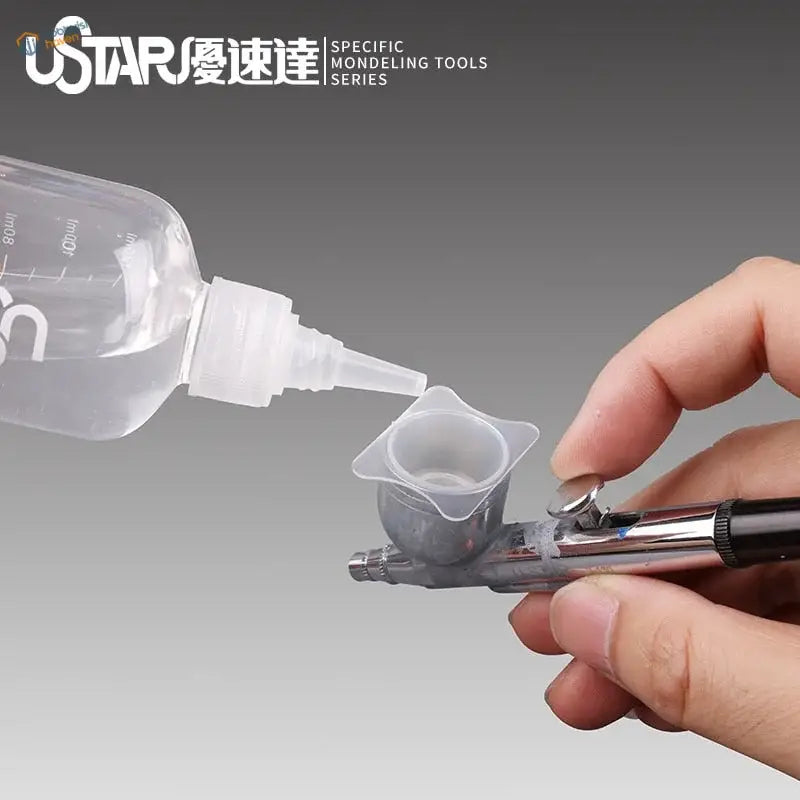
Browse the full Cleaning collection →
Airbrush Cleaning FAQ
No. A thorough flush plus cup, needle and accessible paint-path cleaning is normally enough for routine sessions. Full disassembly is for buildup, clogs, irregular spray or periodic maintenance when the airbrush actually needs it.
There is no universal session count. Use performance and visible residue as the trigger: persistent splatter, reduced flow, bubbling, dried deposits or a problem that survives a normal end-of-session clean.
Some fresh water-compatible hobby acrylics rinse well with water, but dried binder and other acrylic formulations may need their compatible cleaner. “Acrylic” covers more than one chemistry.
Check viscosity, tip dry, pressure, moisture in the airline, needle damage and nozzle seating. A clean airbrush can still splatter for reasons unrelated to dirt.
Not unless the manufacturer recommends it or you have a reason to inspect/clean it. Tiny nozzles are among the easiest parts to damage through unnecessary handling.
Do not use the airbrush as a storage container for paint or cleaning fluid. Finish the flush, remove residue and store it according to the maker's maintenance guidance.